AWIPS Development Environment (ADE)
Detailed instructions on how to download the latest source code and run CAVE from Eclipse.
It is important to keep in mind these instructions are intended for a system that is specifically used for developing AWIPS. It should not be used in conjunction with installed production versions of AWIPS.
The following yum commands listed in these instructions may need to be run as the root user, but the rest of the commands should be run as the local user.
1. Remove AWIPS Instances
First, make sure to remove any instances of AWIPS that are already installed, this can potentially cause problems when setting up the development environment. Below is an example that had CAVE installed.
Uninstall with yum:
yum clean all
yum groupremove awips2-cave
Check to make sure all rpms have been removed:
rpm -qa | grep awips2
Remove any lingering awips2 rpms
yum remove awips2-*
Remove the awips2 directory:
rm -rf /awips2
2. Set Up AWIPS Repo
Create a repo file named /etc/yum.repos.d/awips2.repo, and set the contents to the following:
sudo vi /etc/yum.repos.d/awips2.repo
[awips2repo]
name=AWIPS II Repository
baseurl=https://downloads.unidata.ucar.edu/awips2/current/linux/rpms/el7-dev/
enabled=1
protect=0
gpgcheck=0
proxy=_none_
This file may already exist if AWIPS had been previously installed on the machine, so make sure to edit the baseurl.
3. Install the ADE
Install the AWIPS Development Environment (ADE) using yum. This will install Eclipse (4.17), Java (11), Ant, Python 3.8.2 and its modules (Numpy, Matplotlib, Shapely, Jep, and others).
yum clean all
yum groupinstall awips2-ade
Check the libGLU package is installed by running rpm -qa | grep mesa-libGLU. If nothing is returned, install the package via: yum install mesa-libGLU.
4. Download the Source Code
If it's not already installed, install git:
yum install git
Next clone all of the required repositories for AWIPS:
git clone https://github.com/Unidata/awips2.git
git clone https://github.com/Unidata/awips2-cimss.git
git clone https://github.com/Unidata/awips2-core.git
git clone https://github.com/Unidata/awips2-core-foss.git
git clone https://github.com/Unidata/awips2-foss.git
git clone https://github.com/Unidata/awips2-goesr.git
git clone https://github.com/Unidata/awips2-gsd.git
git clone https://github.com/Unidata/awips2-ncep.git
git clone https://github.com/Unidata/awips2-nws.git
git clone https://github.com/Unidata/awips2-ogc.git
Make sure to run git checkout in each repo if you'd wish to develop from a branch different from the default. It's best to do this before importing the repos into eclipse.
5. Configure Eclipse
Open eclipse by running: /awips2/eclipse/eclipse
It is fine to choose the default workspace upon starting up.
Set Preferences
Verify or make the following changes to set up eclipse for AWIPS development:
-
Window > Preferences > Java > Installed JREs
- Set to /awips2/java
-
Window > Preferences > PyDev > Interpreters > Python Interpreter
-
Set to /awips2/python/bin/python
Add all paths to the SYSTEM pythonpath if prompted
-
-
There might be some unresolved errors. These should be made to warnings instead.
- Window > Preferences > Java > Compiler > Building > Build path Problems > Circular Dependencies > Change to Warning
- Window > Preferences > Plug-in Development > API Baselines > Missing API Baseline > Change to Warning
-
Turn off automatic building (you will turn this back on after importing the repos)
- Project > Uncheck "Build Automatically"
Importing Git Repos
All of the git repos that were cloned in the previous step will need to be imported into Eclipse. But, be aware the awips2 repo is done last, because it requires different steps.
-
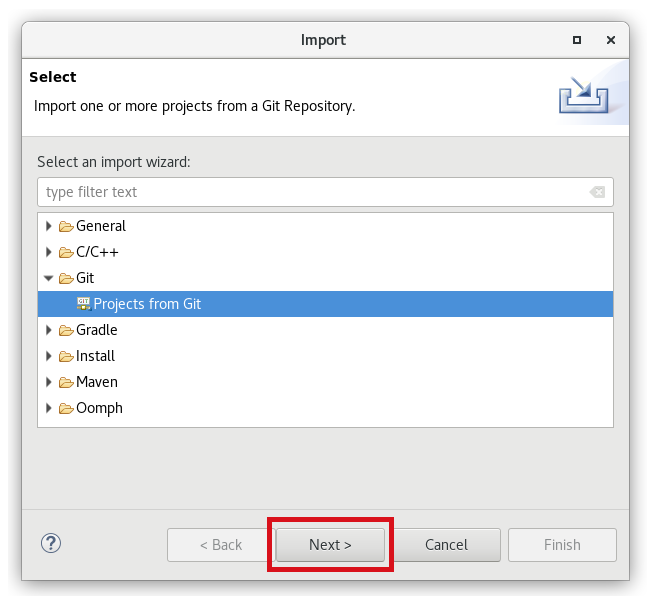
File > Import > Git > Projects from Git > Next
-
Continue with the default selection, Existing local repository > Add.. > add each of the git repos (for example
.../awips2-core) > check the checkbox > Finish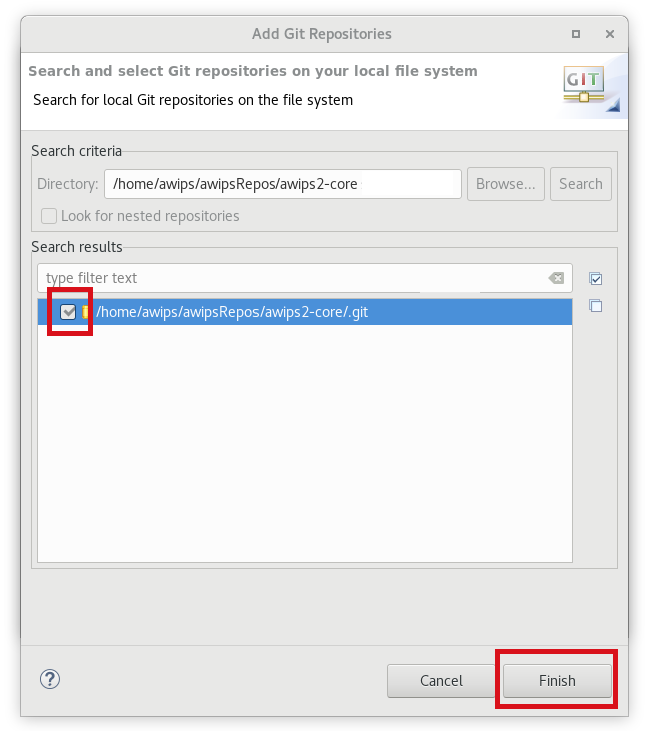
-
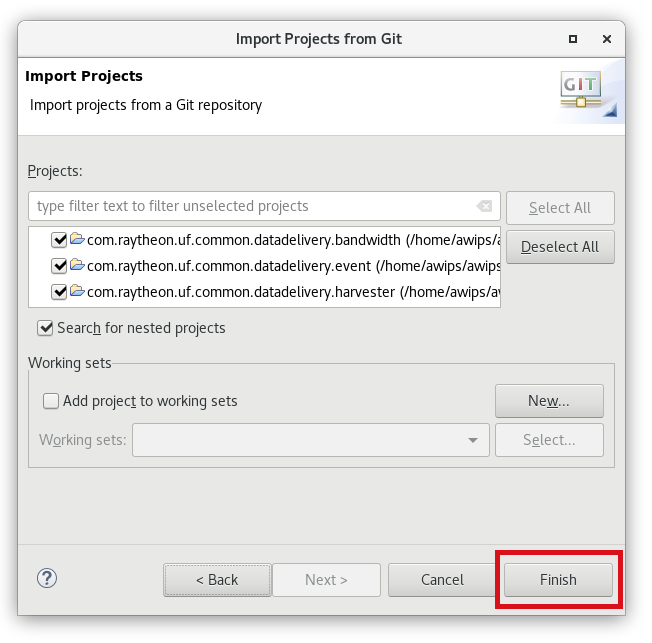
Then for each of the repos (except awips2 right now): Select the repo name > Next > Continue with default selection (Working Tree) > Next > Continue with default selections (all choices selected) > Finish
-
Finally, for
awips2repo, follow all the above steps except in the Working Tree, only select:- cave > Next > Finish
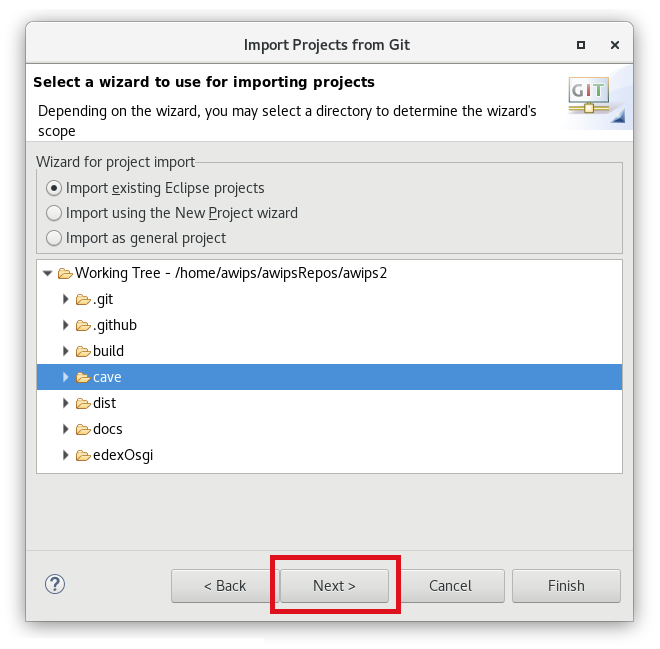
- edexOsgi > Next > Finish
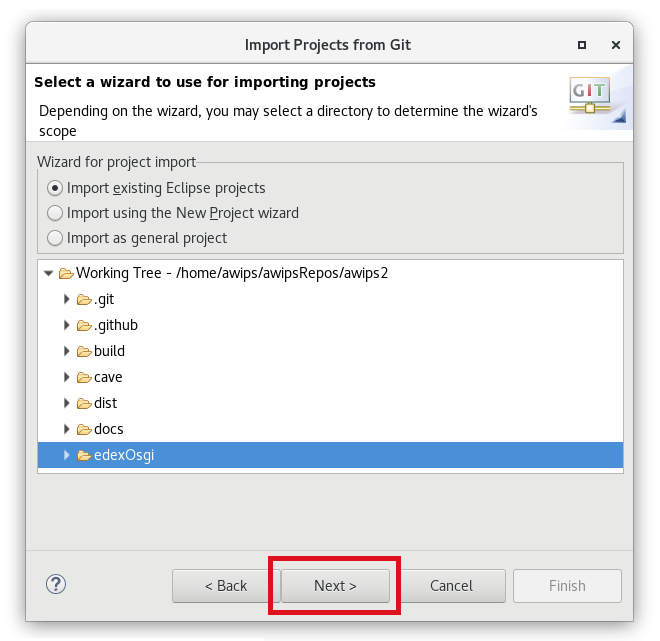
- cave > Next > Finish
Final Setup
-
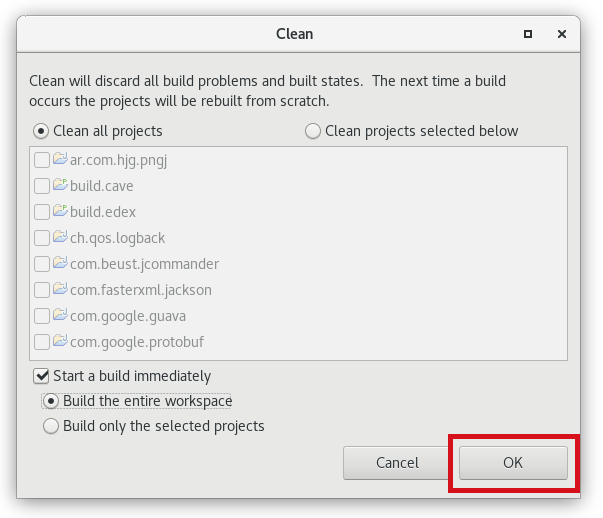
Project > Clean > OK
- Use default selections: Clean all projects, Start a build immediately, Build the entire workspace
- Clean the build and ensure no errors are reported.
-
Turn automatic building back on
- Project > Check "Build Automatically"
6. Run CAVE
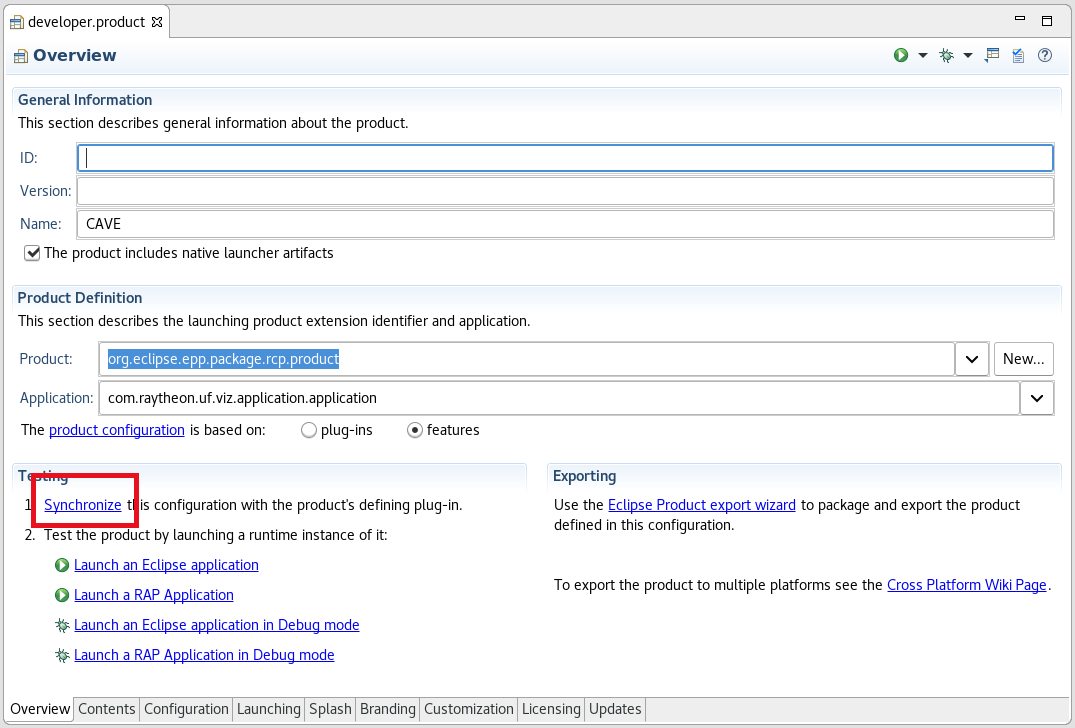
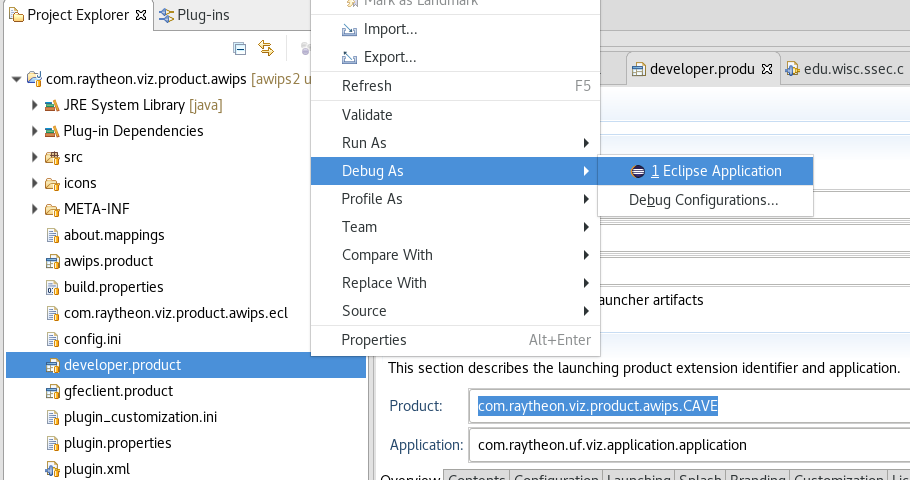
CAVE can be ran from eclipse by using the com.raytheon.viz.product.awips/developer.product
Double-click the developer.product file to open the Project Explorer in Eclipse. Select Overview > Synchronize
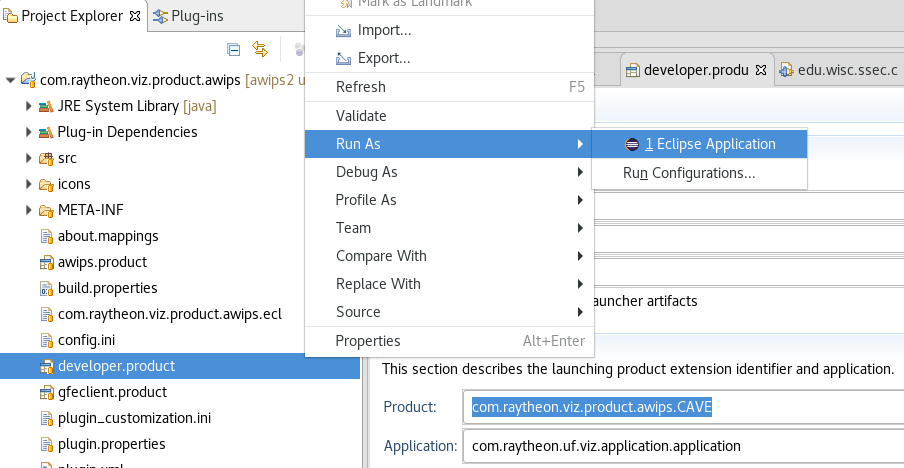
Use the Project Explorer on the left-hand side of eclipse to run CAVE as a Java application or in Debug mode:
Run Application
Select Run As > Eclipse Application
Debug Application
Select Debug > Eclipse Application
Troubleshooting
- If you are getting a lot of errors, try changing your Java Compiler to 1.8, build the project, then change back to 11 and rebuild.
- Window > Preferences > Java > Compiler > Compiler compliance level setting